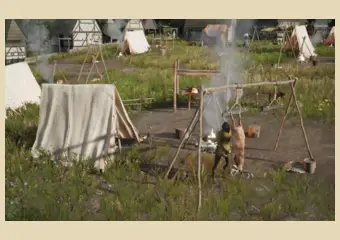
Every other guide here takes one system at a time. Fields. Approval. Trade. That is how you learn them. It is not how they behave.
Settlements fail at the joins. You fix the food and approval slips anyway. You clear forest for timber and next autumn the harvest comes in light. You raise the tax rate and growth stops dead. Each of those is two systems meeting. Neither system's guide covers the meeting.
This page is the joins. It assumes you already know what a granary does.
Read it as loops, not as a list
The useful thing about a settlement is that its parts feed back. Output becomes input. A number you raise on Tuesday moves three others by winter, and one of them moves the first number back.
Loops are also why fixes fail. Treat a symptom inside one system and the loop restores it. Four loops carry most of the game, and the first one is the one that kills runs.
The loop that kills runs
Approval decides how fast families arrive. Families eat. Food that runs short starves them. Starvation carries its own approval penalty on top of the usual drift, so the number that started the loop falls, and it falls below the line where anyone moves in.
 The growth loop
Run it forwards and it compounds in your favour. Run it backwards and each turn makes the next turn worse. A bad winter is expensive for that reason, not because of the food you lost.
The defence is slack, bought early. Housing ahead of demand. Food banked past what the month needs. Both look wasteful right up to the month they are the only reason you did not spiral.
Land is one budget with two claimants
Forest and meadow are the same hectares, spent differently. Forest pays in timber, firewood and pigs, and the pig bonus now climbs with coverage instead of stopping at +30%. Meadow pays in fields, orchards, gardens and apiary yield.
So felling trees is a harvest decision as much as a fuel one. It is also close to irreversible: forester huts regrow a cut area over years, not seasons, and you plant them before you notice the shortage or not at all.
The clean answer is to stop asking one region to do both. Put fields, pastures and apiaries on your capital's meadow. Put pigs in a separate, heavily wooded region and trade the meat home. Regions specialise better than they compromise.
Food variety is military infrastructure
Burgage tiers read the number of food types your market supplies, not the quantity. Tier 1 wants two. Tier 2 wants four. A town swimming in one abundant food has a ceiling it cannot buy past.
Tiers gate artisans, and tiers gate armour: helmets at 1, gambesons at 2, chainmail at 3. Your best route to an equipped regiment therefore runs through the vegetable garden and the market stall. The smithy is downstream of both.
Labour is the constraint you keep forgetting
One pool of families does every job. Farmer, builder, gatherer, militiaman. The game will happily let you staff two jobs that peak in the same month.
Orchards and fields are the classic collision, sharing a single harvest window. Grain is the opposite case and worth copying: field crew through the growing season, then the same families into the malt house and windmill once winter lands. Berry pickers idle themselves every winter whether you like it or not, so plan the winter roster around them.
The growth loop, and how it reverses
Fifty per cent is neutral, neither happy nor discontent. You start with five families and no housing, so the clock is already running: build living space early.

New families arrive only when there is surplus accommodation, so housing is what buys you a workforce. Ten plots gives breathing room; below five you stall.
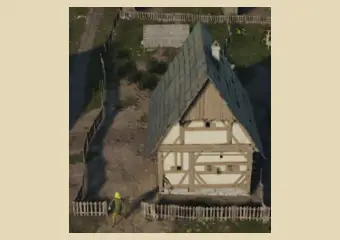
This is the ceiling case: two rich deposits worked before winter locks the food supply and population climbs every month instead of plateauing (contrast #13).

One case saw 7-10 families starving at once and an extra -11% satisfaction penalty stack on. A bad winter can spiral into an approval crisis that outlasts the food shortage.
The approval guide has every lever that moves it →
Variety gates more than food
Low-tier towns can spam 2 types. Advanced towns need pears AND apples, pigs AND goats, carrots AND cabbage, wheat AND rye bread.
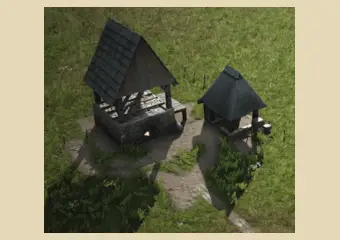
Cheesemonger (unlocks at burgage Lv3) turns Milk + Salt into Cheese at 1,1:2. A food type from a renewable source that never depletes.
Fruit fell ~10% too. Backyard veg is no longer a free food engine, so diversify into cheese, fish and bread earlier.

Match the animal to the region and the plot tier you're building toward, instead of defaulting to one meat source everywhere.

The food guide covers every type and how it stores →
Forest and meadow spend the same land
Use high-meadow regions for honey and crop yields, not for growing a herd faster.
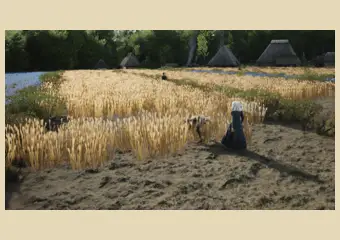
The bonus applies to every farm, orchard and veggie plot in the region at once, which makes it one of the highest region-wide returns available for the cost.
Previously capped at +30%. A heavily forested region now pushes pig output noticeably higher, and it keeps climbing with forest %.
Your capital's meadow is worth more under fields, pastures and apiaries. Build a mostly-reforested secondary region for pigs and trade the meat home.
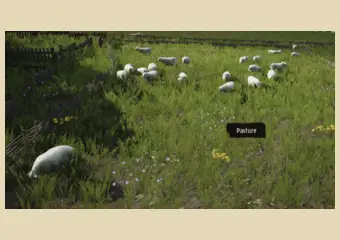
Farming: fertility pools, meadow and field size →
One workforce, four seasons
Reassigning the same families as the seasons turn keeps them employed year-round instead of idle.
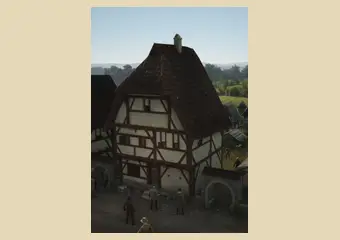
The seasonal-work system pulls berry pickers off automatically once their season ends, with no in-game option yet to shift them to another task during the off months.

Fish ponds physically freeze over and berry/mushroom gathering pauses in the cold months, which is why those food sources flatline each winter.
A minimum-stock setting on fishing huts can hold back a reserve so the population recovers, instead of collapsing the way an over-hunted spot does.